

Hey there! As a supplier of Hand Brush Polyurea, I've got a ton of experience with mixing this awesome stuff. Today, I'm gonna walk you through the process step by step, so you can get the most out of your Hand Brush Polyurea Hand Brush Polyurea.
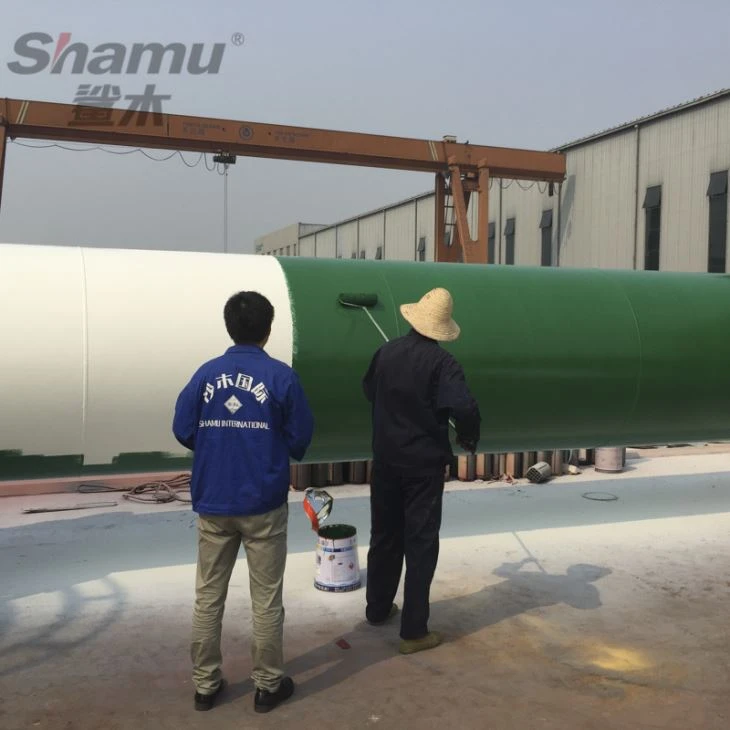
Understanding the Basics
Before we dive into the mixing process, let's talk a bit about what Hand Brush Polyurea is. It's a type of polyurea that can be applied by hand using a brush. This makes it super convenient for small - scale projects or areas that are hard to reach with spray equipment. There are two main types: Slow Curing Preparation Polyurea Slow Curing Preparation Polyurea and Rapid Reaction Polyurea Rapid Reaction Polyurea. The slow - curing type gives you more time to work with the material, while the rapid - reaction one sets up quickly.

What You'll Need
- Hand Brush Polyurea Kits: Make sure you've got the right kit for your project. It usually comes with a resin and a hardener.
- Mixing Containers: You'll need clean, dry containers for mixing. Plastic or metal containers work well, but make sure they're big enough to hold the volume you're mixing.
- Mixing Tools: A stir stick or a drill with a mixing paddle is essential. The drill with a paddle can make the mixing process faster and more thorough, especially for larger quantities.
- Safety Gear: Gloves, goggles, and a respirator are a must. Polyurea can be harmful if it comes into contact with your skin or if you inhale the fumes.
Step 1: Prepare Your Workspace
Find a well - ventilated area to do your mixing. You don't want to be breathing in those fumes. Lay down some drop cloths to protect the surface you're working on from any spills. Also, make sure all your tools and materials are within easy reach.

Step 2: Check the Temperature
The temperature of the materials and the environment matters a lot. Most Hand Brush Polyurea products work best when the temperature is between 60°F and 80°F (15°C - 27°C). If it's too cold, the polyurea may not mix properly or cure correctly. If it's too hot, it may cure too quickly.
Step 3: Measure the Components
This is a crucial step. Most Hand Brush Polyurea kits have a specific ratio of resin to hardener. Read the instructions on the kit carefully. For example, it might be a 1:1 ratio, which means you'll need equal parts of resin and hardener. Use a measuring cup or scale to get the amounts exactly right. A little too much or too little of either component can affect the performance of the polyurea.
Step 4: Pour the Components into the Mixing Container
Slowly pour the measured resin into the mixing container first. Then, add the hardener. Be careful not to spill anything. If you're using a large container, it might be easier to pour the components into opposite corners to make the initial mixing easier.
Step 5: Start Mixing
If you're using a stir stick, start by gently stirring the mixture in the center of the container. Move the stick in a circular motion, gradually working your way to the edges of the container. Make sure you scrape the sides and bottom of the container to get all the material mixed in.
If you're using a drill with a mixing paddle, attach the paddle to the drill and set it to a low speed. Insert the paddle into the mixture and start mixing. Move the paddle up and down and around the container to ensure thorough mixing. Keep mixing for the recommended time, which is usually around 2 - 3 minutes for most Hand Brush Polyurea products.
Step 6: Check for Uniformity
After you've finished mixing, take a close look at the mixture. It should be a consistent color and texture throughout. If you see any streaks or clumps, keep mixing until it's all well - blended.
Step 7: Use the Mixed Polyurea
Once the polyurea is properly mixed, it's time to start applying it. Use your brush to spread the polyurea evenly over the surface you want to coat. Work quickly, especially if you're using the Rapid Reaction Polyurea, as it will start to set up soon.

Tips for a Successful Mix
- Don't Rush: Take your time with each step, especially measuring and mixing. A well - mixed polyurea will give you better results.
- Clean Your Tools: After you're done, clean your mixing tools and containers right away. Polyurea can harden quickly, and it'll be a pain to clean if it's left to dry.
- Practice on a Small Area: If you're new to using Hand Brush Polyurea, try it out on a small, inconspicuous area first. This way, you can get a feel for the mixing and application process without ruining a large surface.
Troubleshooting
- Polyurea Not Curing: If the polyurea isn't curing properly, it could be due to incorrect mixing ratios, low temperatures, or contamination. Check the ratios again, make sure the temperature is within the recommended range, and clean your tools and workspace.
- Bubbles in the Coating: Bubbles can form if you mix the polyurea too vigorously or if there's moisture on the surface. Try mixing more gently and make sure the surface is dry before applying the polyurea.
Conclusion
Mixing Hand Brush Polyurea isn't rocket science, but it does require some attention to detail. By following these steps and tips, you can ensure a successful application every time. Whether you're working on a DIY project or a professional job, Hand Brush Polyurea can provide a durable and long - lasting coating.
If you're interested in purchasing Hand Brush Polyurea or have any questions about the mixing process, feel free to reach out. I'm here to help you get the best results with your projects.
References
- Manufacturer's instructions for Hand Brush Polyurea products
- Industry best practices for polyurea mixing and application


